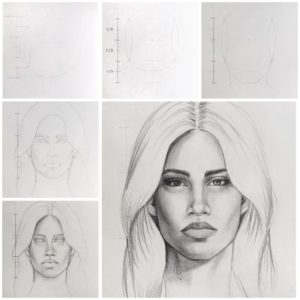
To get that perfect smooth look, especially for drawing things such as skin or hair, blending the graphite is essential. But it isn’t always easy to make singular pencil strokes look like an even surface.
So this tutorial I will show you what techniques you can use to improve your drawings by blending effectively and get that smooth look! Let’s get started.
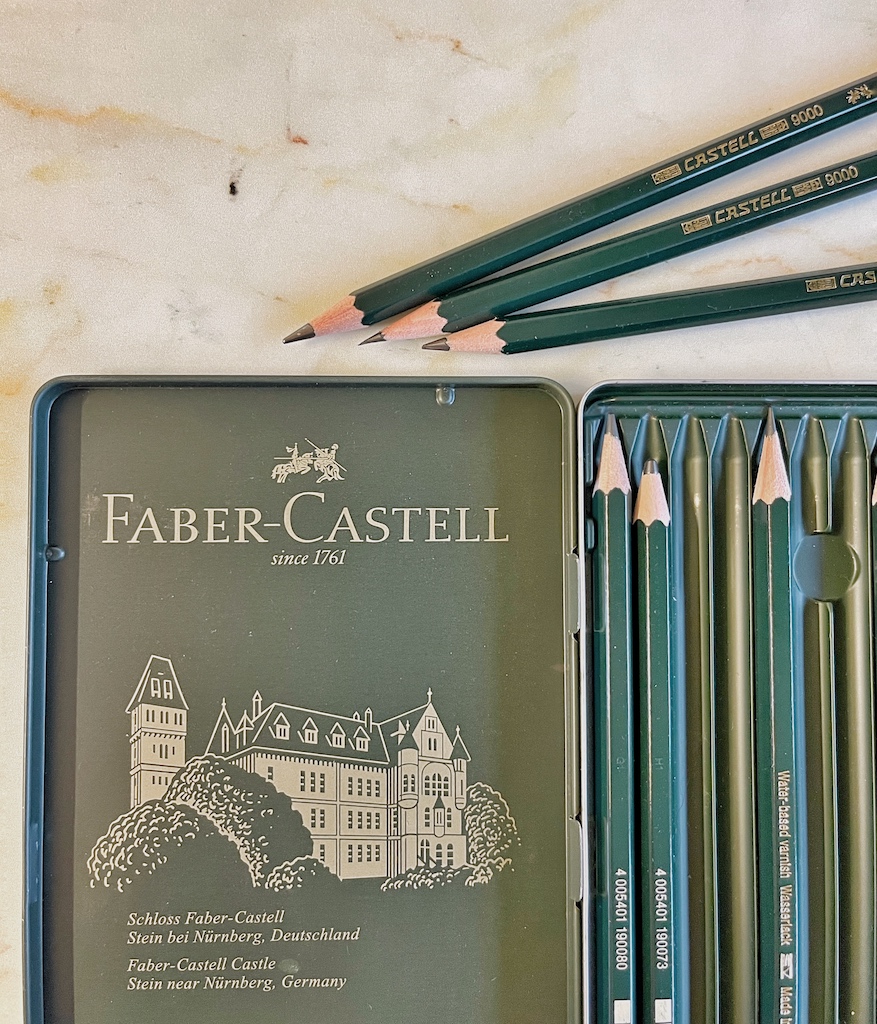
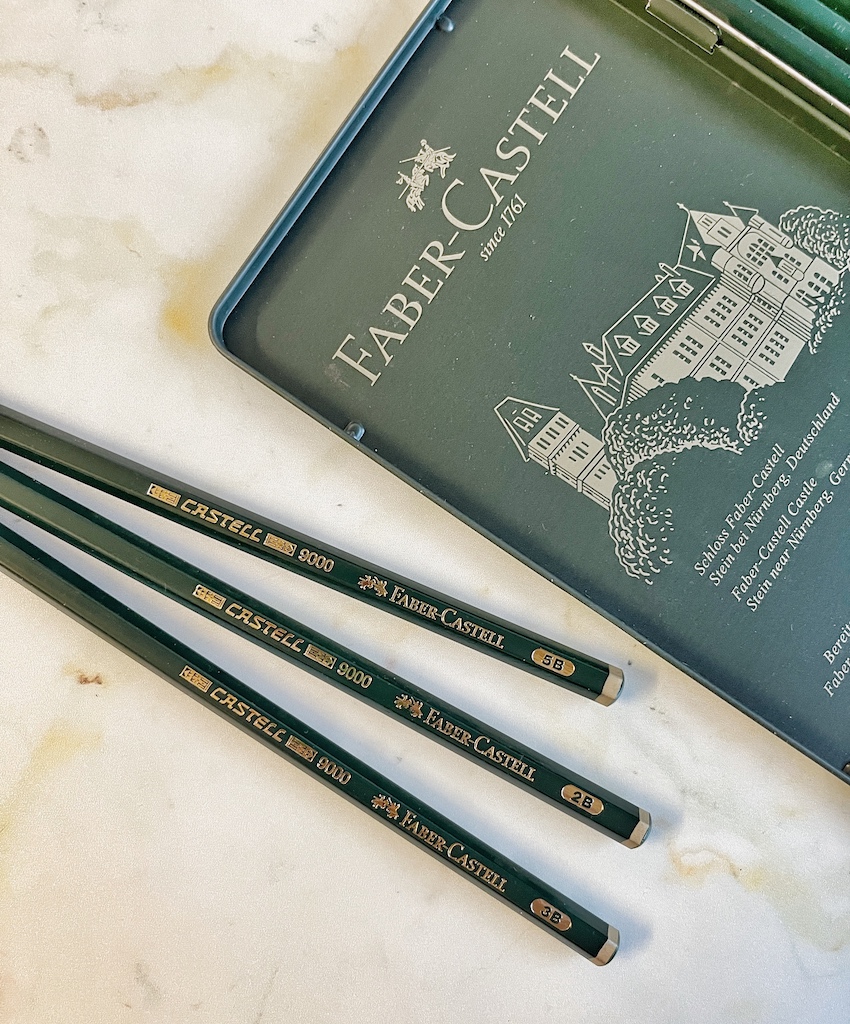
First of all you will have to choose what material you want to work with. There are different types of pencil, meaning mostly that the mine differs in hardness.
The softer the pencil, the richer and darker the stroke. You will know how hard or soft your pencil is by the number on it: H for hard, B for soft. HB is something in between. 4H gets you a very hard, thin pencil stroke – used mainly for architectural drawings for example.
For blending I like to work with anything between 2B and 6B pencil. Depending on how dark you want the drawing to be you can either use a softer pencil or layer blending a harder pencil. But we will get to that in a minute.
I recommend these pencils from Faber Castell. (I don’t get a commission if you buy from this link)
The easiest way is to buy a variation of pencils in different hardness and figure out which ones you like the best for your drawings.
Now let’s get to it!
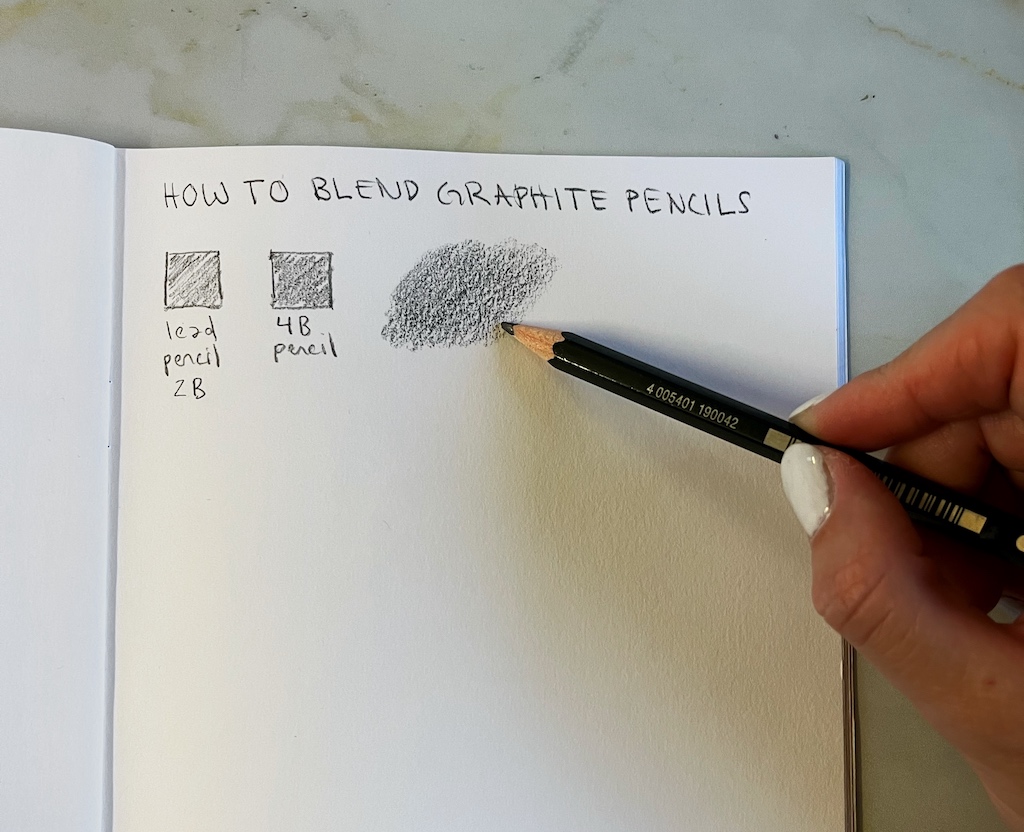
How to blend graphite pencils
You can blend any sort of graphite pencil as long as it is soft enough and you apply the right pressure when drawing your surface that needs blending (like the shadow from the cheekbone if your drawing a face, or a black background). I like to hold my pencil at an around 45° angle or less, so I am using the flat surface, not the tip.
Don’t go too fast. Take a steady pace and either work in straight lines or little circles, whichever works best for you and your drawing. But don’t try to rush this process – you can always go over it again to darken it, but if you apply too much pressure in one spot it’s gonna be really hard to erase that.
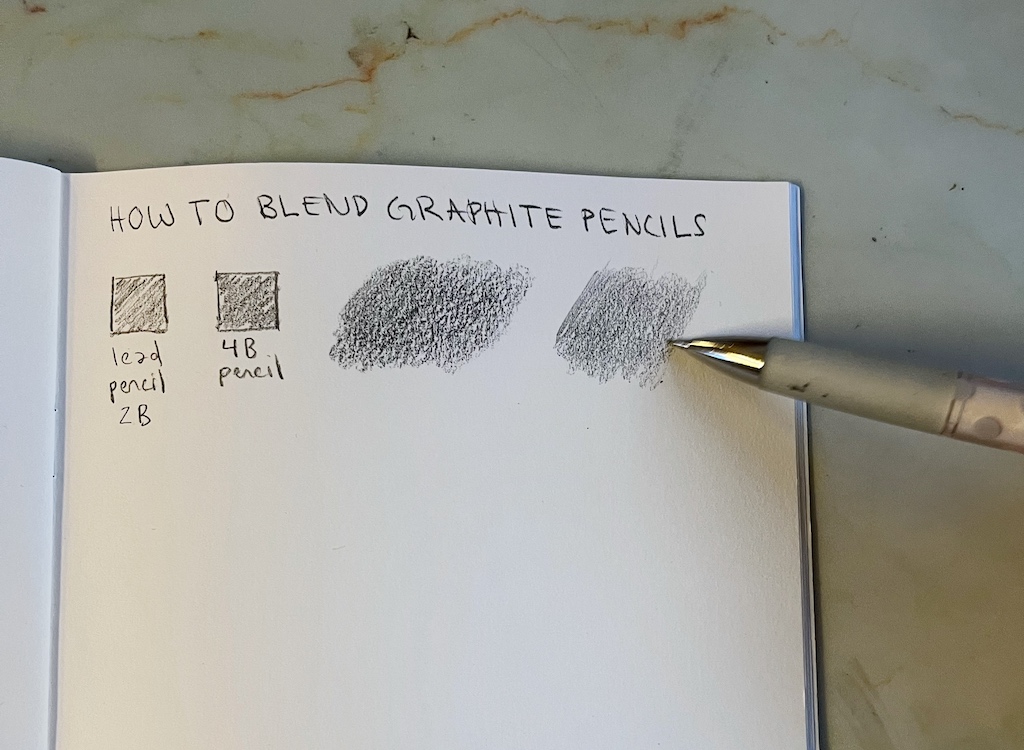
I am a big fan of using mechanical pencils, because you can skip the step of having to sharpen it every now and then when you’re drawing small details.
Here I used a mechanical pencil with a 2B mine, size 0.5mm. If you are using mechanical pencils as well (and I hope you are because they work so well) you will have to be extra careful not to apply too much pressure. The mine also has a sharp edge and flatter surface. Use the flat surface and rotate the pen slowly while drawing to keep it nice and even. Here I recommend drawing straight lines instead of circles, because it’s harder to keep the pressure even when drawing circles.
Technique Nr. 1: Using your fingers
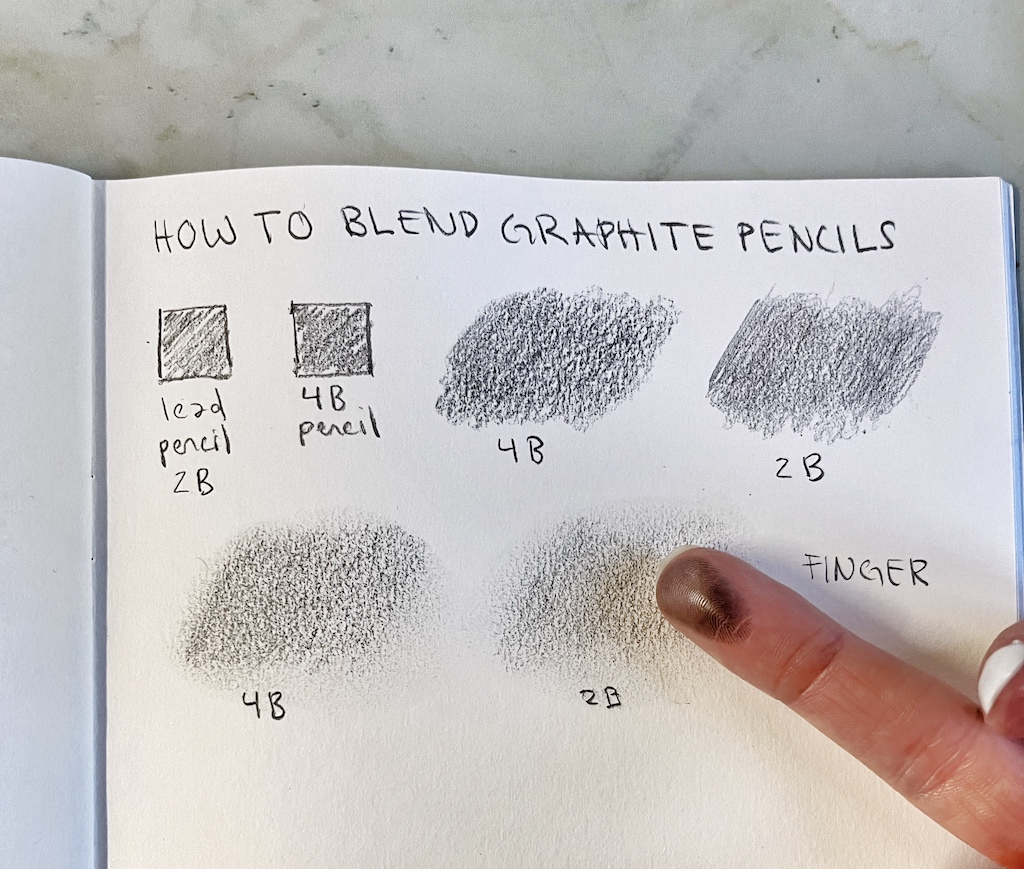
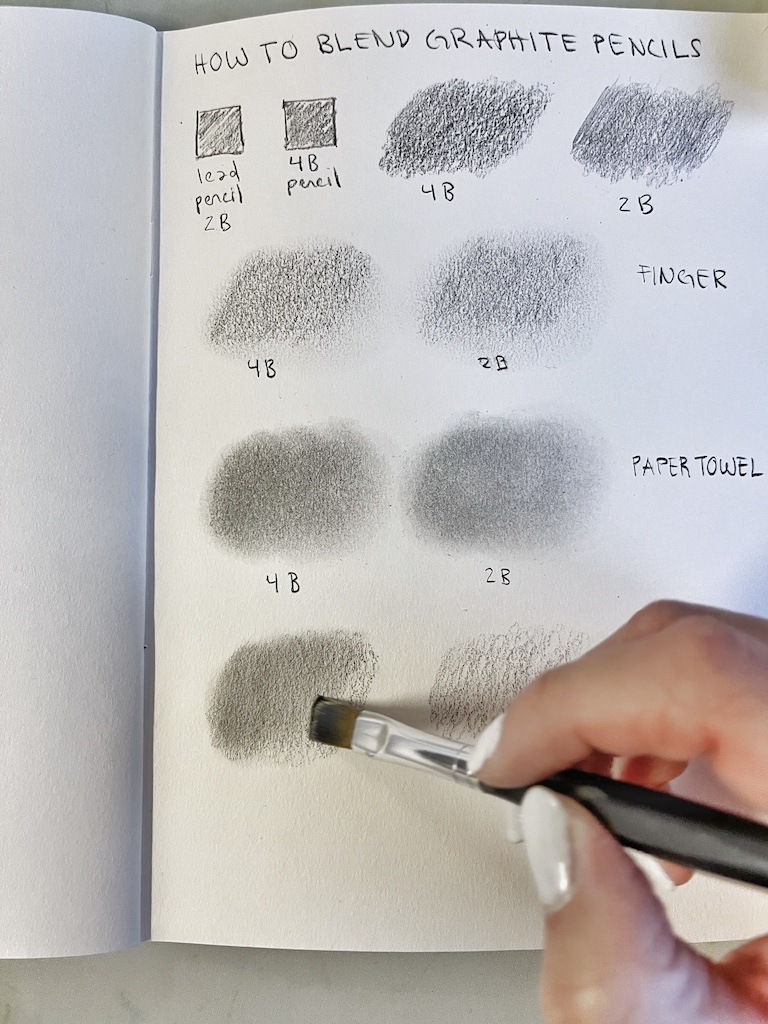
The first and probably most obvious technique is using your finger to blend the graphite. We’ve all done it before. Depending on the texture of your paper, this might actually work pretty well.
I am no big fan of this technique because a) you get dirty and b) you can’t actually see what you’re doing exactly. You also lose a lot of precious graphite because it sticks to your fingers.
I used this sketchbook – if you’re interested. (Again, I don’t get a commission.) As you can see to the right, if you use paper with just a little bit of texture there’s no way you will be able to blend it nice and smooth.
Technique Nr. 2: Using a paper towel
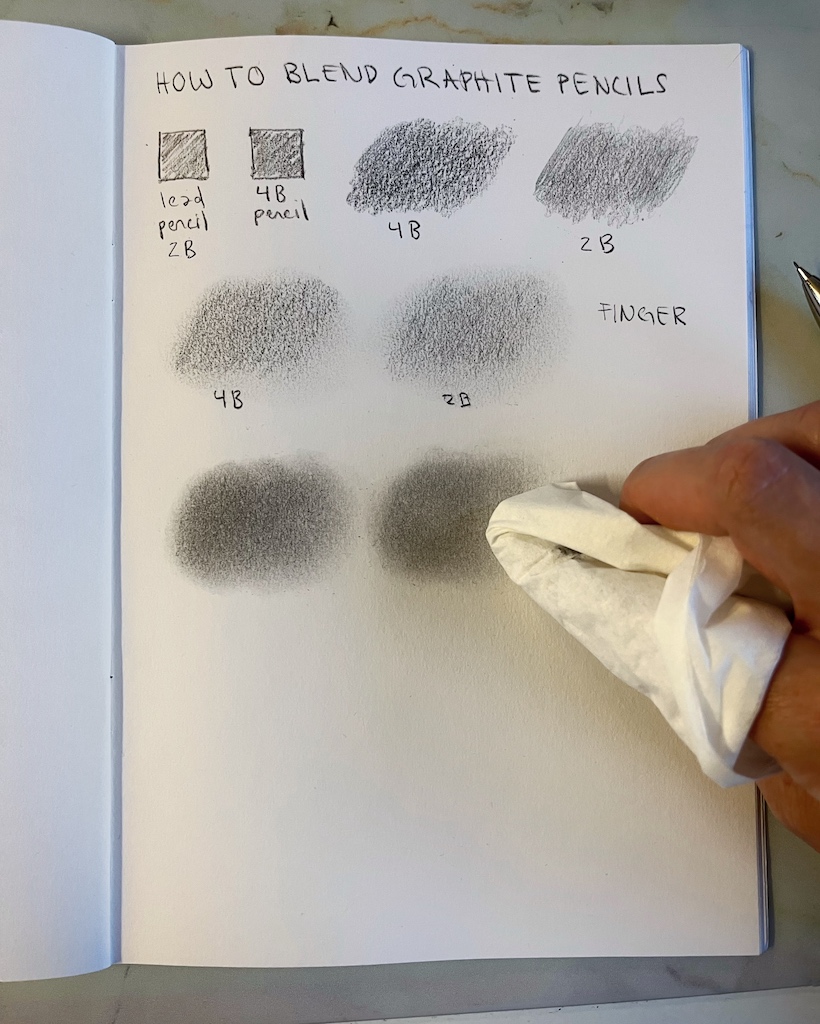
This is one of my favorite techniques to blend pencils because – well just look at how dark and smooth it looks! It’s perfect for blending backgrounds or larger areas of your drawing. With this technique, you won’t be able to get nice sharp edges, so I only use it for bigger areas.
Just fold a paper towel in half once and use your index or middle finger to blend the pencil. It might get a little darker than it appeared before. Try to apply very light but consistent pressure.
Technique Nr. 3: Using a paint brush
This is my favorite technique because you can actually use it to draw and shape your drawing while blending!
For this you can use basically any paintbrush as long as it has a flat edge, isn’t too big and the bristles are soft. Blend the graphite by using the flat edge of your brush and apply soft pressure while making small circles or steadily move your brush side to side. You can play around with this and also use your brush to shape certain aspects of your drawing, like hair or shadows on the face.
Be aware that different from your fingers or a paper towel your brush doesn’t absorb that much of the graphite – you might notice that your “pushing” around some of the leftover graphite and the result might be a little bit lighter than it was before blending. To avoid this, go for blending with a paper towel.
It’s also important to clean your brush every now and then – to keep it nice and soft and so you don’t accidentally darken a part of your drawing because of leftover graphite.
I hope this tutorial is helping you improve your drawing skills and step up your blending game! Have a beautiful day and go check out some of my other posts and drawing tutorials.
